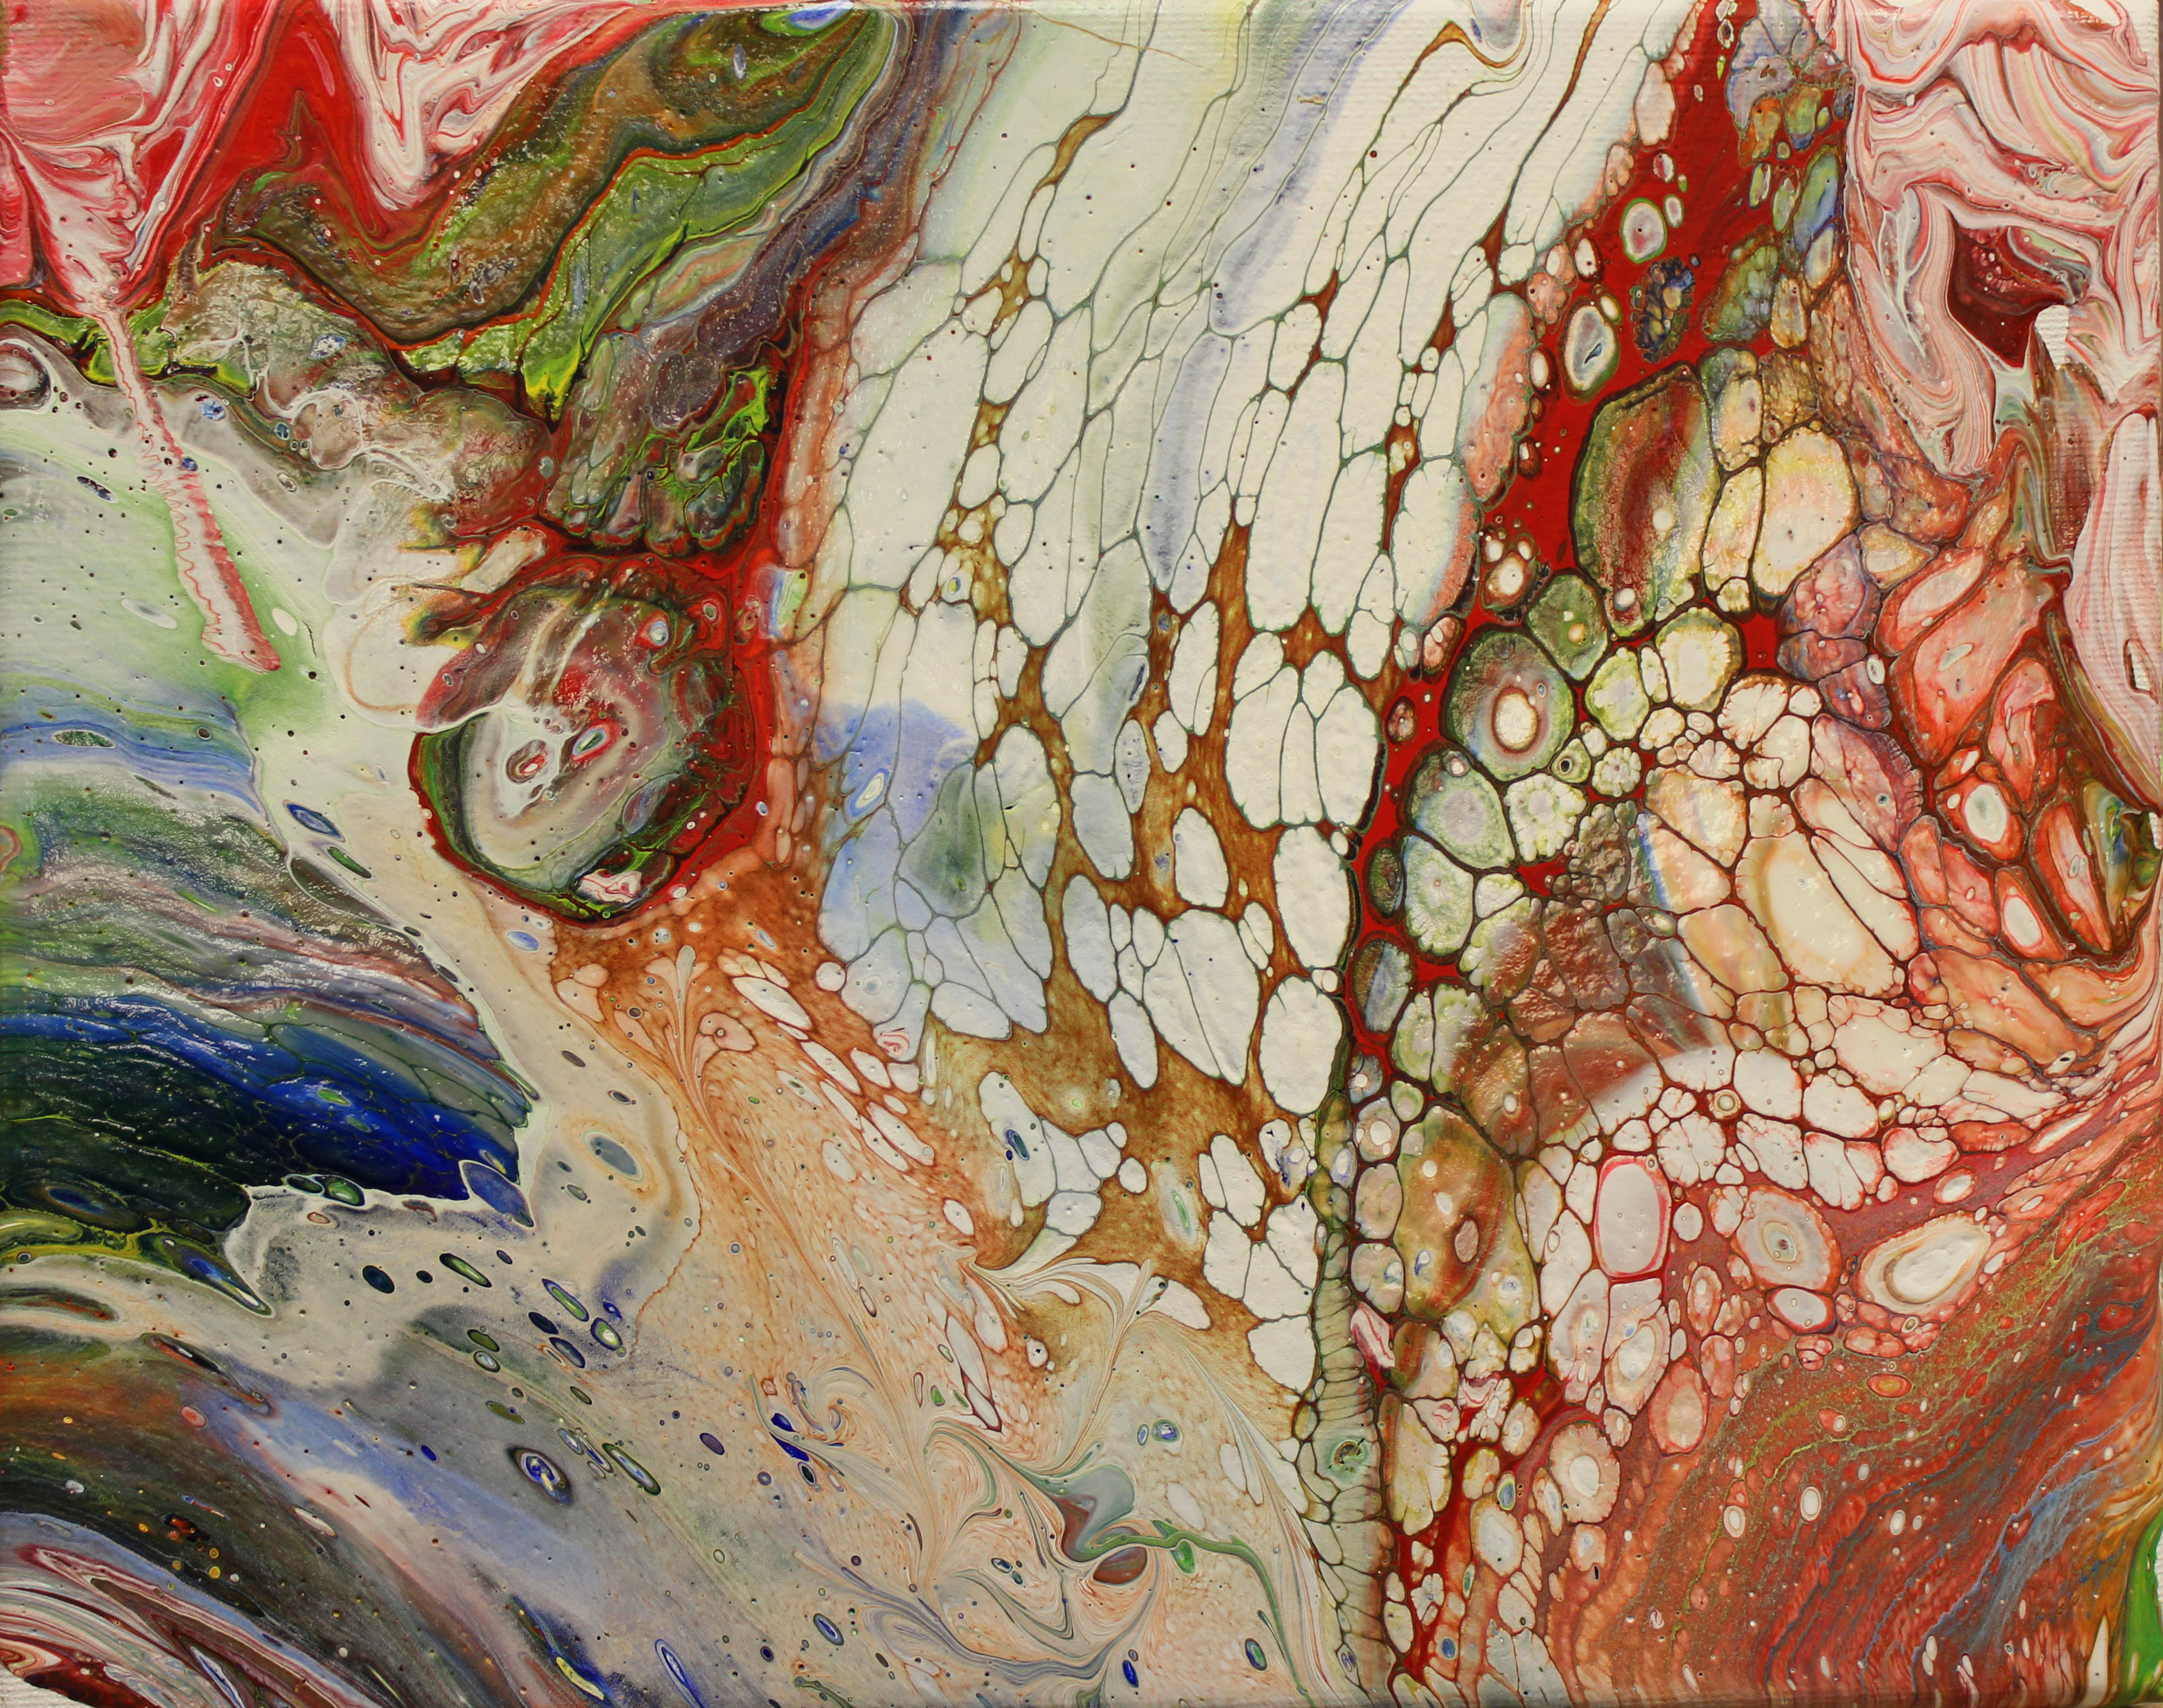
Acrylic pouring, by its nature, lends itself to experimentation, and the more that you do, the more you’ll understand about what colors work together, how much medium to add, what additives to try, etc. As the saying goes, you learn about painting by painting; our updated version would be that you learn about pouring by pouring.
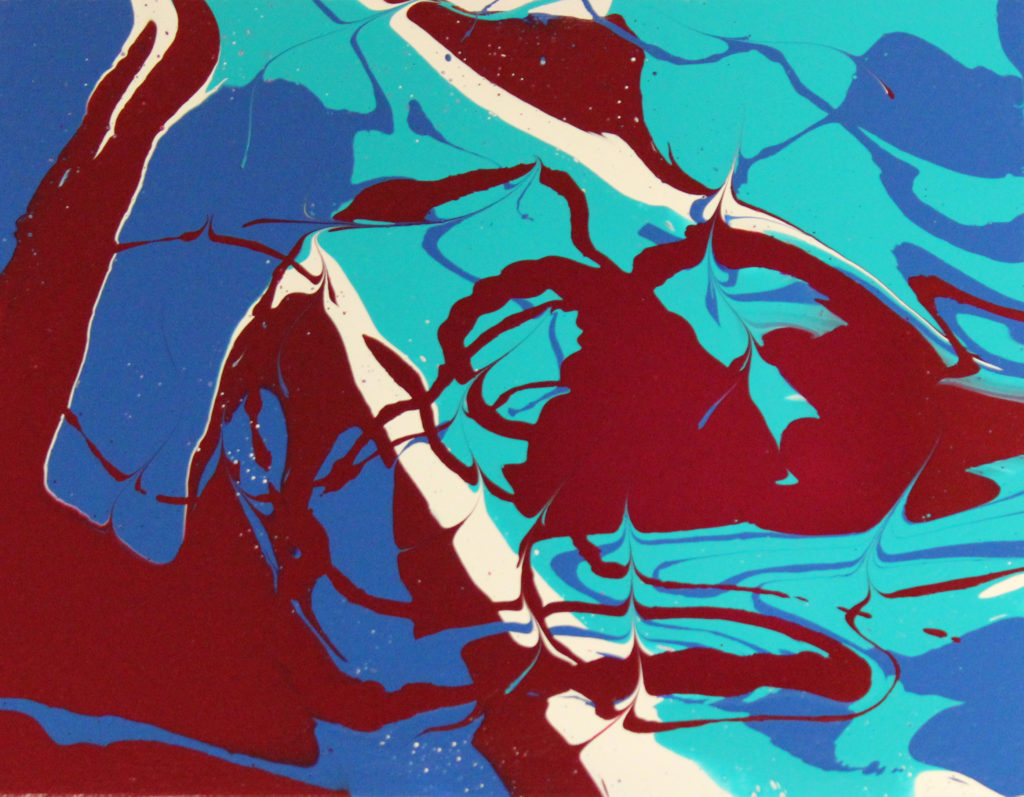
Where to begin? The simplest way would be to do a clean pour, one that just uses Atelier Pouring Medium and Atelier Free Flow. Stick to smaller surfaces, 2-3 colors, and mix about a 2:1 ratio of medium to paint. You want to see how this mixture behaves. Do you need more medium? Is the paint too thick? How do the mixtures move when you move the surface? Pay attention to what is happening as best you can, and take notes if necessary.
 .
.
Perhaps you want to try a dirty pour, where you are mixing all your colors into one cup. Again, pay attention to what you are doing, and perhaps this time add more (or less) paint or small additions of water. What happens? Do the colors mix or do they stay separate? Do you have any cells developing?
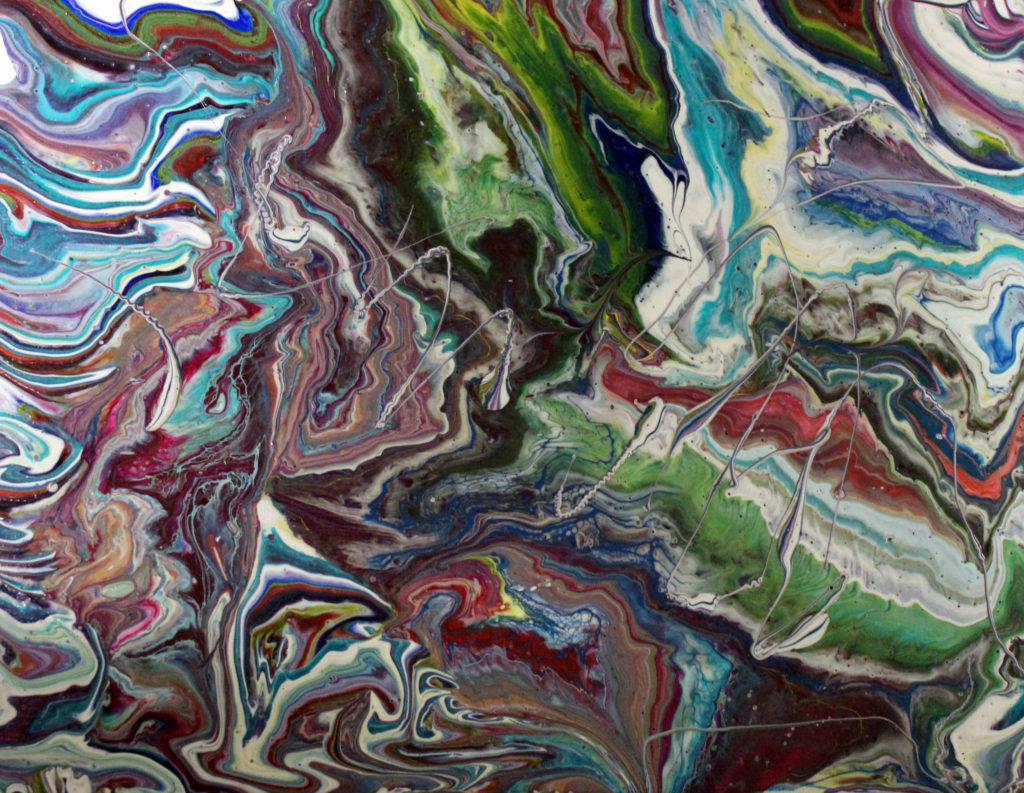
What happens if you create a “flipped cup” pour? Did you add medium and white at the bottom of the cup? What colors seem to sink and what ones seem to rise to the top?
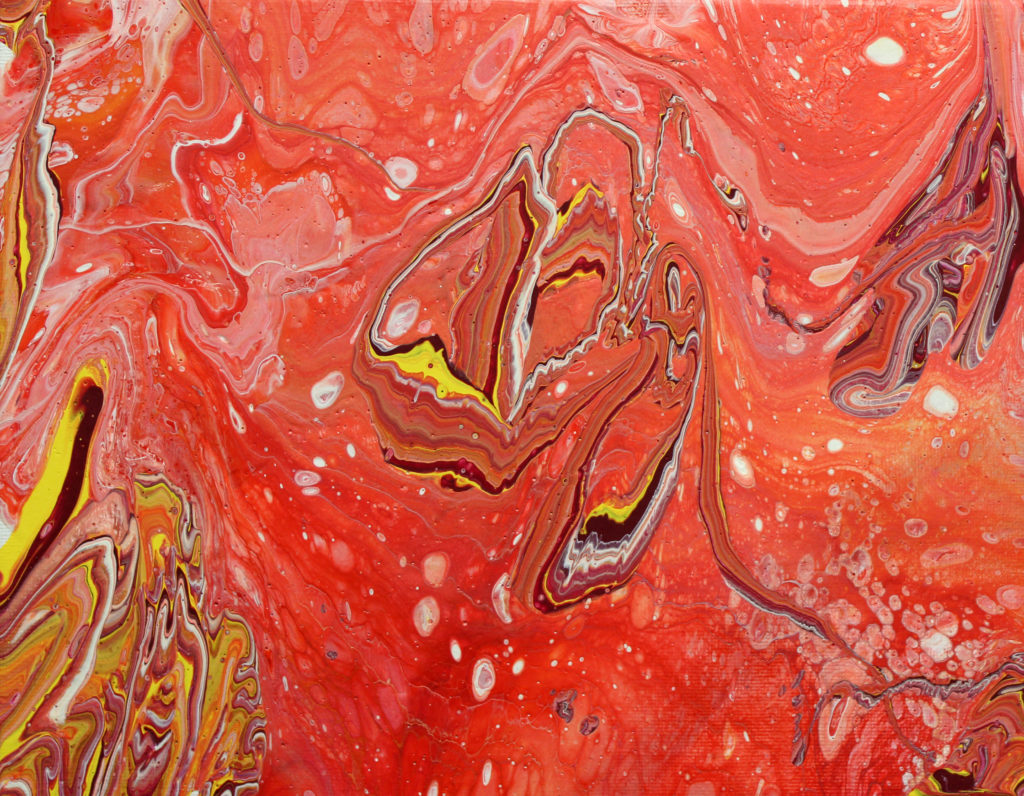
There are many videos and articles that talk about the additions of additives such as silicone oil or Floetrol. It is important to note that we do not test our products with other brands, and mixing brands and other chemical products with our products is definitely experimental territory. It is unknown how archival these types of paintings will be over time, but then again, where would art be if artists aren’t willing to try? See what happens if you add 2-3 drops of oil, or small amounts of other additives. How does the paint move now?
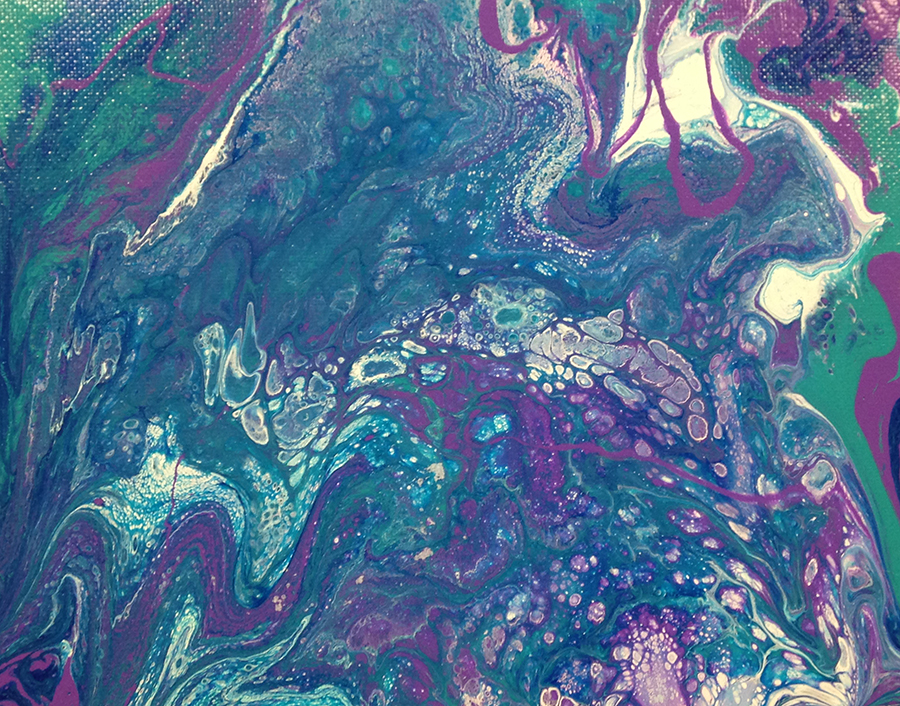
As you explore the fun you can do with acrylic pouring, be sure to document your process, because the way a pour looks when wet can change when it dries.
For a complete overview on all these techniques, check out Jim Cobb and John Rhoden’s video.
