×

Download & Print Page

This is a special workshop section of the Atelier website, which is primarily directed to viewers in Australia where Atelier Interactive is well known and readily available, although the information presented is useful for all artists. Each month in Australian Artist, Jim Cobb, Chroma's Owner and Paint Formulator, will be presenting a product or group of products, and be expanding on that information here on the "digital page."

NOTE FROM JIM COBB - POURING TECHNIQUES

To understand what is going on here you need to download the text from Australian Artist, which is provided here in PDF form, so that you will be able to understand what is going on in the digital video sections on this website. To access all newsletters/digital pages, click here.

Please note: This month, the free products kits are available only in Australia through local retail art shops who have arranged to carry out group workshops with art groups, that like to explore new ideas and who will hopefully look forward to each monthly program.


Acrylic Pouring Techniques

As featured in Australian Artist Magazine


Download the Australian Artist Magazine article here

One of the latest and biggest trends in the art world now is Acrylic Pouring. Chroma has once again responded to what is currently trending with our release of the Atelier Pouring Medium. There is a lot of information out there, so this article’s aim is to demystify all that information.

If you are interested in receiving a Free Pouring Kit and arranging a Pouring Workshop for your art group or art store (as seen in Australian Artist), please contact marketing@chromaonline.com for details.  Offer valid in Australia only.

After watch Jim Cobb and John Rhoden demonstrate pouring, watch the below video from Jim that addresses additional information on pouring, health and safety and why he created this digital magazine.


For technical questions or feedback about pouring, our videos and this digital newsletter, please contact Jim at jcobbchromatech@gmail.com.

WHAT IS POURING MEDIUM?

Paint is very simply made from mixing pigment and a binder together. Of course, there is a lot more that goes into it, but let’s keep it simple for now. Pouring Medium helps to thin the paint, making it more fluid whilst keeping the paints strength, vibrancy and transparency.

Pouring Medium will keep the binder’s properties intact allowing for less water to be required. Too much water will be detrimental to the binder’s properties, lessen the pigment load making the paint chalky, and lower the adhesion the adhesive to the canvas or board you have chosen. Some artists choose to use PVA glue but once used the paint loses its archival properties and can become chalky and brittle over time.

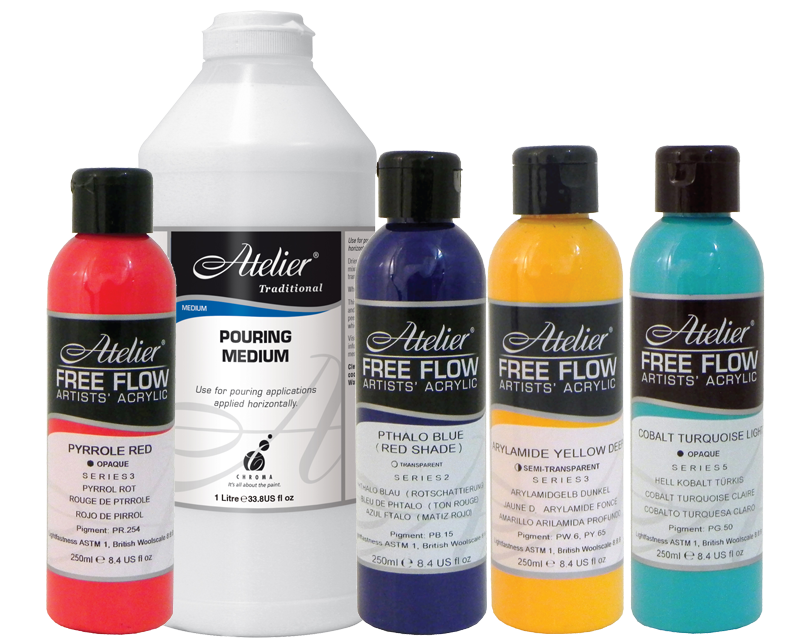
Atelier Pouring Medium is designed for extreme fluid effects and pouring techniques. It is self-levelling and dries to a gloss finish. The best suited Chroma paint for this style of art is Atelier Free Flow; however, Jo Sonja Artists Colours' and Atelier Interactive Artists' Acrylics can also be used.

HOW DO YOU USE POURING MEDIUM?

Preparation is an integral part of the process and I cannot stress this enough. Below I will try to give you step by step instructions on how to use.

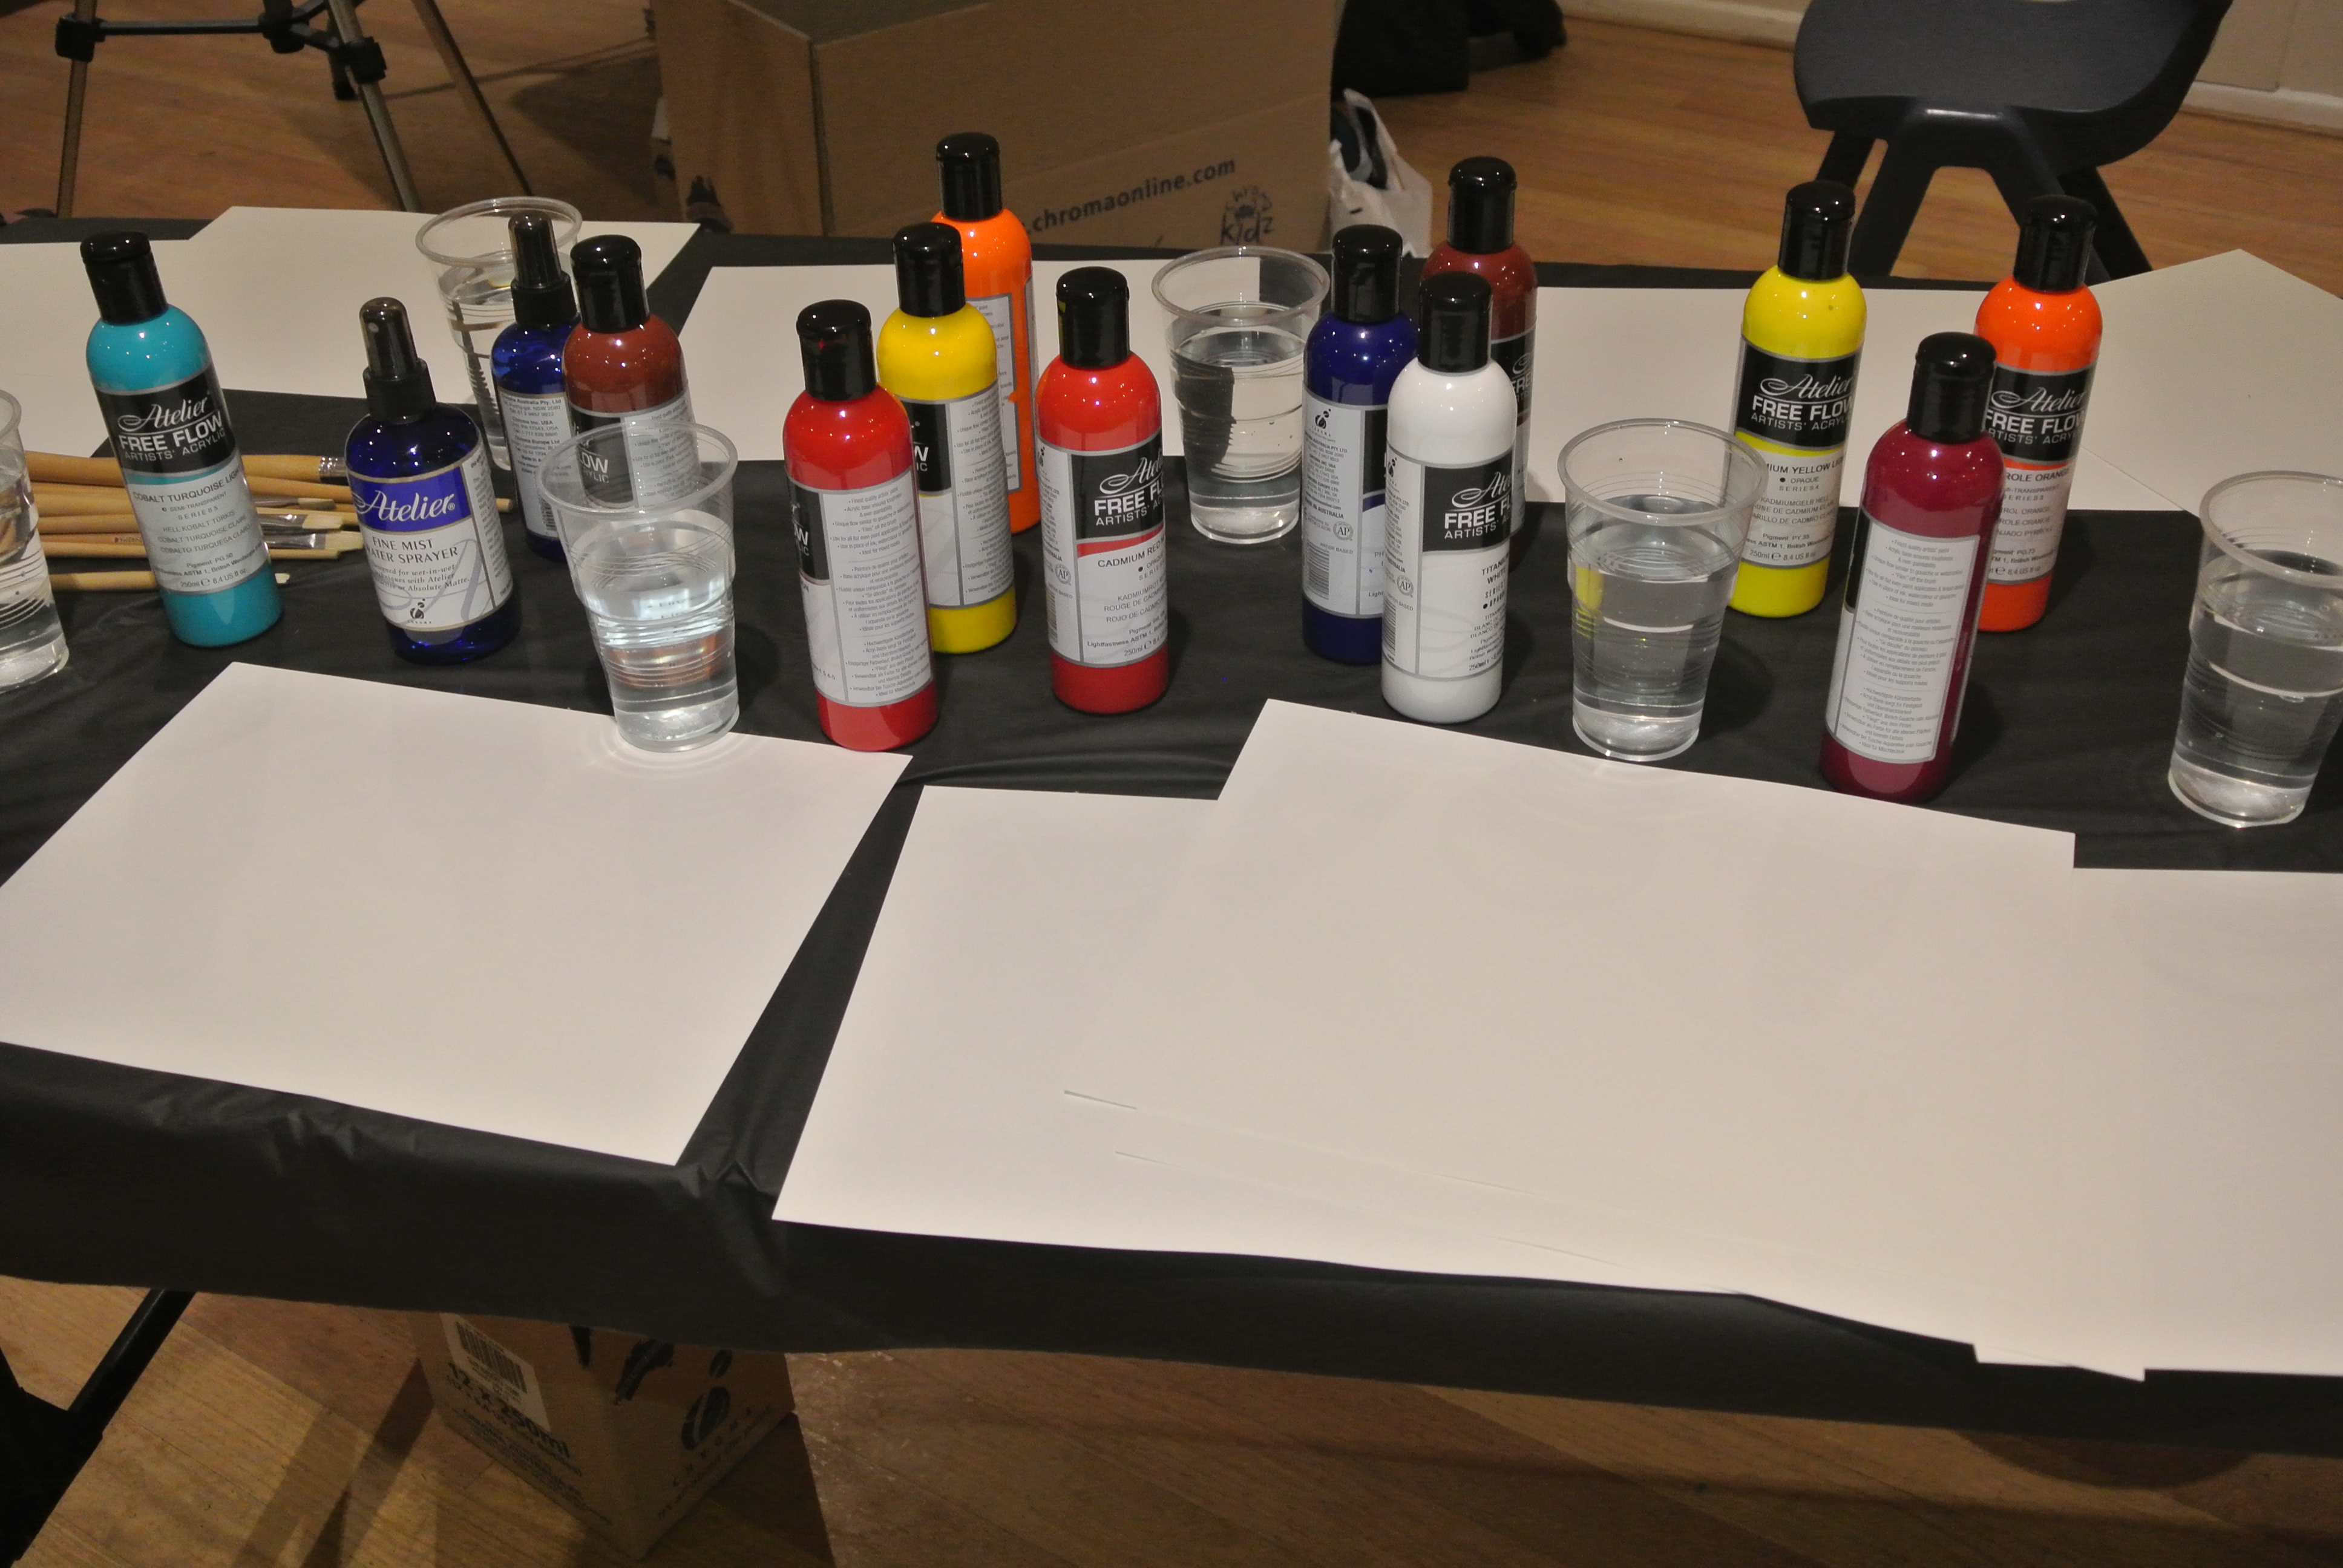
MATERIALS FOR YOUR SET UP

  • Atelier Pouring Medium
  • Atelier Free Flow Paint - Select 4 colours you like plus Titanium White. Transparent colours work amazingly well. If just starting out, try Quinacridone Magenta, Pthalo Blue and Arylamide Yellow Light plus Titanium White and/or Carbon Black. 
  • Atelier Liquid Gesso or the Chroma Gesso of your choice. Why not try one of the Free Flow Coloured Liquid Gessos?
  • Plastic tablecloth
  • Disposable gloves
  • 10 or more plastic cups  – these can be small, I like the clear ones with ribbing, so I can see and adjust amounts of paint and Pouring Medium I am adding to the mix. 
  • Wooden paddle pop sticks
  • Canvas or board on which to pour. Start small and practice what quantities work best for you. Make sure your surface has been correctly primed with good quality gesso before beginning 
  • Pipette or syringe for of water to the mix.
  • Palette knife, old credit or business card
  • Large aluminum baking tray
  • Spirit Level
  • Butane Torch (optional)

HOW TO DO A CLEAN POUR

Place your plastic tablecloth over your workspace.

The aluminum tray is placed in front of you and inside the tray you will place 4 plastic cups upside down in each corner. Place your primed canvas or board on top of the inverted cups. Make sure your painting surface is completely level.

Prepare your paints in the remaining cups. Line up your cups and place approx. 15 – 20cm of one paint colour into each cup. Add to the paint the same quantity of Pouring Medium to each colour and mix well with your paddle pop stick. Add a small amount of water ONLY IF NECESSARY to make the mix very runny in texture. You may need to experiment here as different colours can be lightly different in fluidity. Set aside for a few minutes while the air bubbles work their way to the top.

You do need to work quickly but be inventive! Pick up one colour at a time and pour into your painting surface. You can pour in circles, zig zags or just pour into the centre of the surface. Make sure you leave the Titanium White last with all your pours. Titanium White weighs more than other paints and will force its way through the layers to the bottom.

When all the paint is on your surface you can roll it around, so the paint covers the whole canvas. From here it is up to you. You can swipe the paint with your palette knife or credit card being very careful and using a feather touch. Cells will begin to appear.  

Once you are happy you can decide whether to leave to dry naturally, dry with a hair dryer or give it a blast from your Butane Torch – not too close with the Butane Torch and this is best done outside unless you want to see how quickly the Fire Brigade can get to your studio.

If you Interested in a workshop with John Rhoden, Acrylic Pouring Artist and Teach, please contact him at jrhoden46@bigpond.com.

For technical questions or feedback about pouring, our videos and this digital newsletter, please contact Jim at jcobbchromatech@gmail.com.

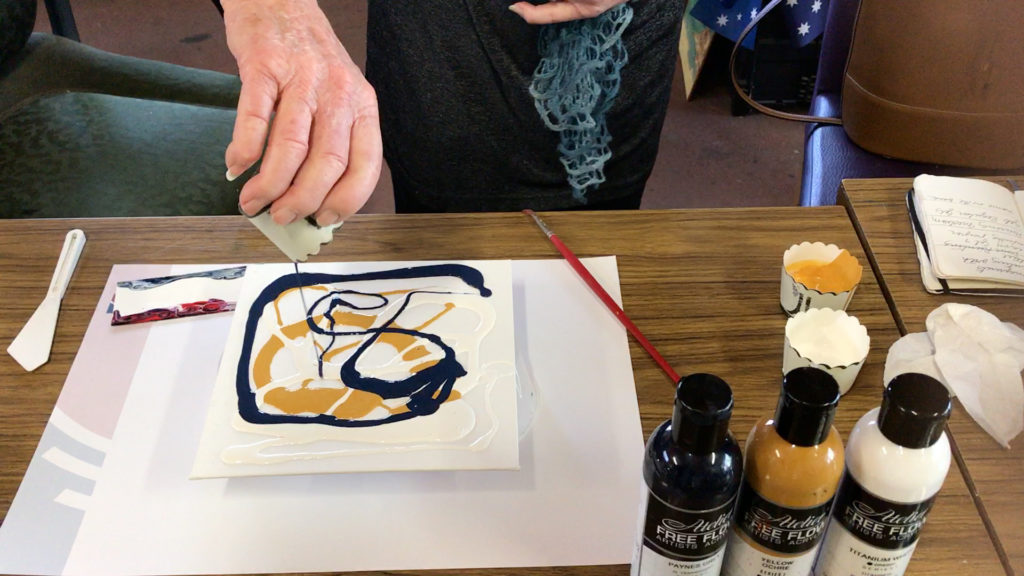
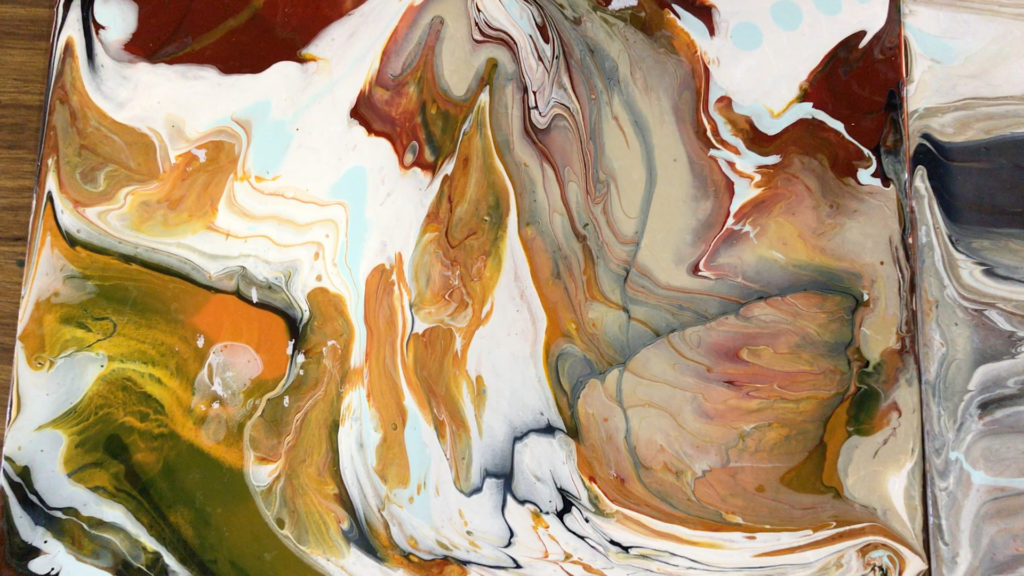
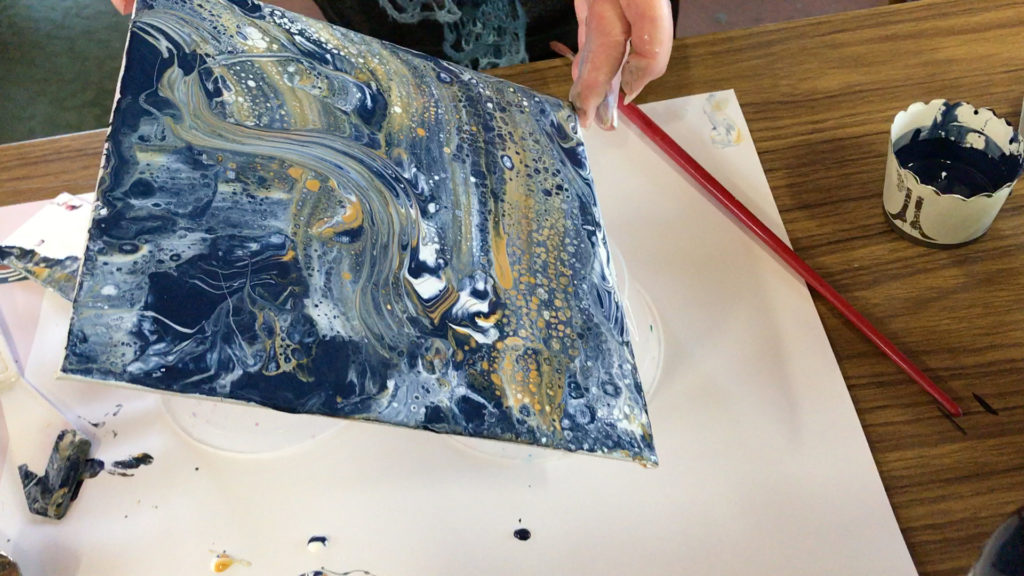
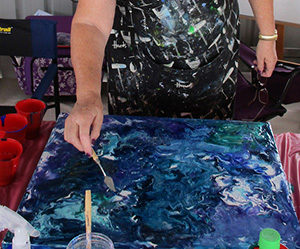
HOW TO DO A DIRTY POUR

A dirty pour is prepared in the same way as above until you get to the pouring stage. Now you want a large plastic cup and what you do for a dirty pour is to tip the colour mixes into the one large cup carefully, remembering to leave the Titanium White until last. You can add all of the colours in one hit or add them a bit at a time the choice is yours…experiment. You can pour the mix over your painting surface or alternatively place your painting surface on the top of your mixed cup hold the cup in place firmly. Rotate your painting surface and then lift cup your inverted cup allowing the mix to cover the surface. Move your painting surface around letting the paint flow and move around until you are happy with the result. You can now use your palette knife and/or credit card to swipe gently over the surface., play and experiment.


ADDITIONAL IDEAS

It is important to note that we do not test our products with other brands, and mixing brands and other chemical products with our products is definitely experimental territory. It is unknown how archival these types of paintings will be over time.

The addition of 2-3 drops of Silicon Oil, Treadmill Oil, Baby Oil or similar products will enhance the chances of promoting cell formation. Mix in with the paint using a slow soft “fold” action and allow to stand 1 minute to allow any air bubbles to rise to the top. Then you can do a dirty pour or clean pour or whatever your imagination decided it want to do.

Try adding texture either with Modelling Compound before the pour or sand, bead etc. while the pour is still wet.

If you Interested in a workshop with John Rhoden, Acrylic Pouring Artist and Teach, please contact him at jrhoden46@bigpond.com.

For technical questions or feedback about pouring, our videos and this digital newsletter, please contact Jim at jcobbchromatech@gmail.com.


PHOTOS FROM RECENT WORKSHOPS

Chroma sponsors workshops where artists can learn different techniques while exploring the properties of our paints and mediums. Below are some photos from recent workshops.

If your art group or store is interested in hosting a workshop, please contact us at marketing@chromaonline.com (AU) or infousa@chromaonline.com (USA).


Maleny Arts and Crafts Fine Art Workshop

This workshop featured Atelier Pouring Medium and Atelier Free Flow.

McClelland Guild of Fine Artists Workshop

This workshop featured Atelier Pouring Medium and Atelier Free Flow.

HELPFUL VIDEOS & LINKS

Learn Acrylic Pouring Techniques with John Rhoden


How To Do A Flip Cup Dirty Pour


How To Do A Clean Acrylic Pour


An overview on Atelier Pouring Medium and what it does


Read the article in Australian Artist Magazine (April 2018)

Access all Newsletters/Digital Pages here

Follow us on Facebook

Follow us on Instagram

Follow us on Twitter

Follow us on YouTube